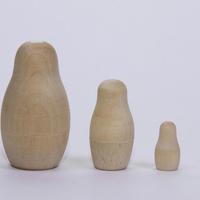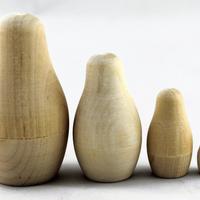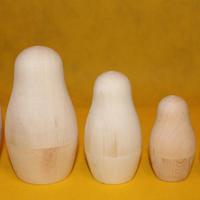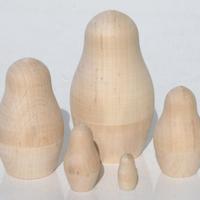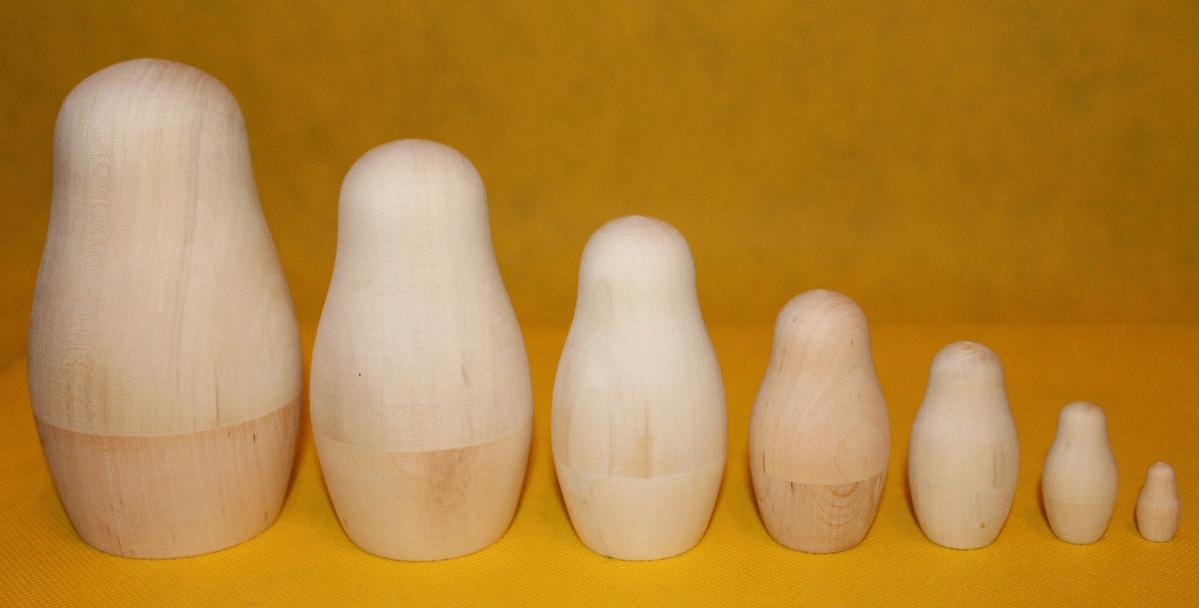
- Seasoned linden wood, nothing else
- Turned on a lathe and painted by hand in Russian workshops
- A seam that grips, under several coats of clear lacquer
What you need before you start
A set of blank linden dolls, sanded and untreated. Paint: gouache is traditional and forgiving, acrylic is more durable and less forgiving, watercolour needs a sealed surface and a light hand. Brushes: one flat 6 mm for blocking colour, one round size 2 for outlines, one round size 0 or 00 for faces. A soft pencil, an eraser, a jar of water, and clear water-based varnish for the end.
Set aside an afternoon for a 5-piece set and a full weekend for a 10-piece one. The painting itself is quick; the waiting between coats is what takes the time.
Step 1: seal the wood, or decide not to
Bare linden is thirsty. Paint applied straight onto it sinks in, the colour goes dull, and the grain lifts slightly. Russian workshops prevent that with a thin coat of boiled potato starch, brushed on warm and left to dry, which seals the pores without adding a plastic layer. A modern equivalent is one thin coat of diluted PVA or clear acrylic gesso.
You can skip this. Painting straight onto bare wood gives a chalky, matte, folk-art look that some people prefer. Just know that colours will read two or three shades lighter than they look on the brush.
Sand before you seal, never after
A light pass with 240-grit before sealing takes off any raised grain. Once sealer or paint is on, sanding will cut through to bare wood in patches and you will see it through the varnish.
Step 2: pencil the layout
Traditional composition divides the doll into three zones: the face, the headscarf framing it, and the apron panel on the belly where the main decoration goes. Draw the oval of the face first, roughly a third of the way down the front and about a third of the doll's width. Everything else is positioned relative to it.
Draw lightly. Pencil lines under thin gouache stay visible.
Step 3: paint in the traditional order
- Background and headscarf. Block the largest areas first, in flat colour, leaving the face oval bare wood. Two thin coats beat one thick one.
- Apron panel. Block its base colour and let it dry completely before decorating it.
- Face. Bare wood is the traditional skin tone in the Semenov style, so most painters leave the oval unpainted and go straight to features. Eyes first, then a small mouth, then the two dots of colour on the cheeks.
- Flowers and detail. Roses, daisies and forget-me-nots on the apron, dots and leaves to fill. Paint the big petals, let them dry, then add the darker centre and the highlight.
- Outlines last. A fine black or dark-brown line around the headscarf, the apron and the hair pulls the whole thing together and hides wobbly edges. This is the step that makes amateur work look finished.
Step 4: the faces, in order of size
Paint all the outer dolls first and the smallest one last, when your hand is warmed up. Keep the same brush loading and the same order of strokes for every figure: eyes, mouth, cheeks. The family resemblance across a set comes from repeating the same gesture, not from measuring.
If a face goes wrong on gouache, let it dry, paint the oval over in an opaque light colour and start again. On bare wood, a damp cotton bud lifts fresh gouache cleanly.
Step 5: varnish without gluing the set shut
This is where most home-painted sets are ruined. Varnish goes on the outside only. Never varnish the rim of a seam, the inside of a shell, or the mating surfaces, the film is thick enough to change the friction fit, and two varnished surfaces pressed together while tacky will bond.
Use a water-based clear varnish, two or three thin coats, each fully dry before the next. Keep the halves separated while drying, and leave the set open overnight before closing it for the first time.
Style ideas beyond the traditional
The blank does not oblige you to paint peasant flowers. Common alternatives: a family portrait set, one face per member, largest to smallest; a set of cats or owls; seasons, one per doll; a colour gradient across the set; or a single continuous pattern that only aligns when the dolls are lined up in order. For inspiration from the historical styles, see our guide to regional painting styles.
Painting with children
Blanks are excellent for this, but use acrylic or child-safe poster paint rather than gouache, which stays soluble and will smear on damp hands. Give each child their own doll from the set rather than sharing one, and skip the varnish step or do it yourself in a ventilated room. Our note on nesting dolls and toy safety covers the age question.
Frequently Asked Questions
What paint should I use on wooden nesting dolls? +
Gouache is traditional and forgiving; acrylic is more durable and harder to correct; watercolour needs a sealed surface. All three work on sanded linden. Avoid oil paint, which stays tacky in a closed seam for far too long.
Do I need to seal or prime a blank matryoshka before painting? +
Not strictly. Sealing with thin PVA, acrylic gesso or the traditional boiled potato starch stops the bare linden drinking your colour and keeps it bright. Painting straight onto bare wood gives a chalky matte folk look but lighter colours.
How do I varnish a nesting doll without it sticking shut? +
Varnish the outside only, never the seam rims, the mating surfaces or the interior. Use two or three thin coats of water-based clear varnish, dry each fully, keep halves apart while drying, and leave the set open overnight before closing it.
What order do Russian painters work in? +
Background and headscarf first, then the apron panel, then the face, then flowers and detail, and finally the dark outlines. The outlines are done last because they tidy every edge underneath them.